Streamline tattoo design approvals for better client results
TL;DR:
- Implementing a structured tattoo design approval workflow reduces revision cycles, saves time, and improves client satisfaction. Key components include digital forms, clear policies, and consistent communication, enabling studios to manage approvals efficiently and protect artists’ time. Establishing strict boundaries and detailed processes results in more confident clients and a smoother, professional studio operation.
If your studio is losing hours every week to back-and-forth messages about design tweaks, late consent forms, and clients who show up unsure what they approved, you’re not alone. Endless revision cycles slow down bookings, frustrate artists, and create bottlenecks that affect your entire team. A well-structured tattoo design approval workflow fixes all of that. This guide walks you through exactly what to set up, how to run each stage, and how to protect your artists while giving clients a smooth, satisfying experience from first contact to finished tattoo.
Table of Contents
-
The essentials: What you need for an efficient approval workflow
-
Revision limits and policies: Set expectations and protect your team
-
Perspective: Why strict boundaries make design workflows better, not colder
Key Takeaways
| Point | Details |
|---|---|
| Limit revisions | Set clear limits on minor and major revisions to protect artist time and avoid costly delays. |
| Digitize approvals | Use software to automate consent, revision tracking, and design sign-offs for faster, more reliable admin. |
| Set deposit policies | Require deposits and clear refund rules to prevent no-shows and late cancellations during the workflow. |
| Plan for edge cases | Integrate strategies for minors, VIPs, complex placements, and no-shows into your standard process. |
| Balance collaboration | Enable client input with structured boundaries to foster trust and prevent workflow chaos. |
The essentials: What you need for an efficient approval workflow
With the pain points defined, let’s clarify what you’ll need to optimize your workflow before tackling the specific steps.
Before you build a great process, you need the right building blocks in place. Here’s what every studio should have ready:
-
Studio policy documents: Written policies covering revisions, deposits, cancellations, and consent
-
Deposit system: A reliable way to collect and track deposits tied to each booking
-
Revision tracking method: A shared log or digital tool that records how many changes a client has requested
-
Digital sketch platform: Software or apps where artists can share draft designs securely
-
Approval and release forms: Signed documents that protect both the artist and the studio
-
Client communication channels: A single, consistent method (email, platform messaging, or SMS) so nothing falls through the cracks
The difference between physical and digital systems is significant. Paper forms work for small studios with low volume, but they create filing headaches, get lost, and are nearly impossible to track across multiple artists. Digital tools change everything. Studio software tools help manage these moving parts in one place, reducing the admin load on your front desk.
| Tool type | Best for | Limitation |
|---|---|---|
| Paper forms | Very low volume, walk-ins | Hard to track, easy to lose |
| Basic digital forms (PDF/email) | Small studios | Manual follow-up still needed |
| Dedicated approval software | Busy multi-artist studios | Setup time, subscription cost |
| Full booking + approval platform | Growing studios | Requires staff onboarding |
Pro Tip: Linking your digital approval forms directly to your appointment booking system reduces no-shows. When a client has completed and signed their consent form in advance, they feel more invested and are far less likely to cancel last minute.
Step-by-step: The tattoo design approval process
Now that you know what you’ll need, let’s walk through each stage of the modern tattoo design approval workflow.
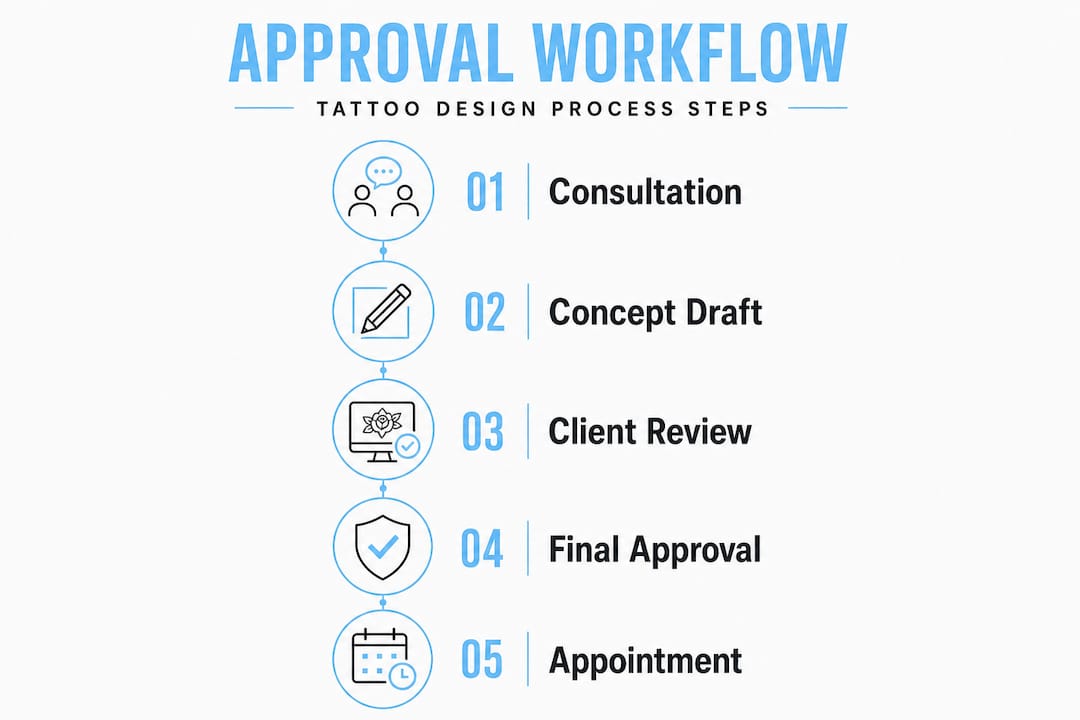
A solid workflow follows a consistent sequence so nothing gets skipped and every client receives the same quality of service. The standard tattoo design approval process starts with client consultation and references, moves into artist design development (typically one to two days before the appointment), then includes client review and minor revisions at the start of the appointment, stencil placement approval on skin, and final consent before tattooing begins.
Here’s how to run it step by step:
-
Consultation and reference collection: Gather the client’s style preferences, placement ideas, size, and reference images. Document everything in writing or in your booking platform. The more specific your intake form, the less guesswork the artist faces.
-
Deposit collection and expectation setting: Collect the deposit and share your revision policy at this stage. Don’t wait. Clients who understand the rules upfront are far easier to work with later. See handling bookings and deposits for a practical guide on making this smooth.
-
Design draft creation: The artist creates the design based on the intake notes, usually one to two days before the appointment. This is where the creative work happens, protected by the deposit already collected.
-
Pre-appointment preparation: Prepare the stencil and any materials. Avoid sending digital previews ahead of time unless your policy specifically allows it, since this often triggers unnecessary revision requests before the client even sits down.
-
In-person review at appointment start: Walk the client through the design at the beginning of the session. Make minor adjustments on the spot. This is the time for tweaks, not redesigns.
-
Stencil placement approval on skin: Place the stencil and get written or verbal confirmation from the client before the needle touches skin. This step is non-negotiable.
-
Final consent form and signature: Have the client sign the consent form. Then, and only then, begin tattooing.
| Stage | Primary responsibility | Client action required |
|---|---|---|
| Consultation | Front desk or artist | Submit references and preferences |
| Deposit and policy review | Front desk | Pay deposit, sign policy doc |
| Design draft | Artist | None (wait for appointment) |
| In-person review | Artist | Approve or request minor revision |
| Stencil approval | Artist | Confirm placement on skin |
| Consent form | Front desk or artist | Sign before tattooing |
Pro Tip: Build a short checklist for each artist to run through at the start of every appointment. It takes under two minutes and prevents skipped steps when the studio is busy.
Revision limits and policies: Set expectations and protect your team
After establishing your workflow, it’s essential to address revision policies so everyone knows where the boundaries lie.
Clear revision policies are one of the most effective tools a studio can implement. They protect artist time, reduce client frustration, and prevent the scope creep that turns a one-hour session into a two-hour negotiation.
Most studios follow a structure like this:
-
Minor revisions (free, up to 1-3): Small adjustments like tweaking line weight, shifting placement slightly, or changing a small design element
-
Major revisions (new deposit or drawing fee): Changing the core concept, switching styles, or requesting a completely new design
-
Rescheduling policy: If a client wants significant changes at the appointment, reschedule rather than keep other clients waiting
Revision policies that work typically allow 1 to 3 minor revisions for free, with major changes such as a new concept or style requiring a new deposit or a drawing fee of $20 or more. This protects the artist’s time while still giving clients flexibility on the small stuff.
The payoff is real. Studios that implement deposit-gated digital workflows with limited revisions (1 to 2 free), no pre-appointment digital shares, and stencil checks reduce admin work by up to 60%. That’s hours returned to your team every week.
When a client requests changes beyond your policy limits, charge the fee confidently. Clients who respect the process respect your studio.
Pro Tip: Clarity before the appointment is worth more than any cancellation policy. Send a one-page policy summary with every booking confirmation. When clients know what to expect, complaints drop and satisfaction rises.
Managing revision policies effectively means writing them down, sharing them early, and sticking to them consistently. Browse studio policy best practices to see how other studios handle this.
Managing edge cases and avoiding approval pitfalls
No workflow is complete without preparing for exceptions. Here’s how to build resilience into your process.
Every studio eventually encounters situations outside the normal flow. Build these into your policy documents so staff have a clear answer ready:
-
Minors: Require a guardian to be physically present and sign a separate parental consent form
-
VIP or celebrity clients: Use the same process, no shortcuts. VIP status does not mean skipping consent
-
No-shows: Deposit is forfeited, no exceptions
-
Late arrivals: Many studios charge a late fee of $50 or more to cover lost time
-
Difficult body placements: Joints, ribs, and hands may require paid touch-ups due to natural fading. Document this before tattooing
For minors and VIP clients, extra approvals and guardian consent are standard practice. No-shows forfeit deposits, late arrivals face a $50 or higher fee, and challenging areas like joints may require paid touch-ups. Digital forms make it easy to add conditional fields for these cases so the right questions get asked automatically.
Deposit forfeiture is not optional. It is a fundamental protection for your artists and your studio’s time. Communicate it early, enforce it consistently, and never make exceptions based on how sympathetic the reason sounds.
Boosting client collaboration (without chaos)
Once your studio handles edge cases, turn your focus to providing clients a great collaboration model without workflow headaches.
Great studios know how to make clients feel involved without handing them unlimited control. The shift toward client-artist collaboration means more back-and-forth on placement, size, and style, especially for first-timers who need guidance. But that doesn’t mean endless revisions.
Here’s how to keep collaboration productive:
-
Send a detailed onboarding email right after booking that explains every step of the process
-
Provide a visual reference guide so clients can communicate style preferences clearly (traditional, neo-traditional, fine line, etc.)
-
Use a structured intake form that limits open-ended responses to reduce vague requests
-
Give clients two or three placement options rather than a blank choice, which leads to faster decisions
-
Script your artist’s opening line at the appointment: “Here’s the design based on what you shared. Let’s talk through any small adjustments.”
There are two broad collaboration models: artist-led (trust the portfolio, day-of reveal) and client-collaborative (previews, revisions). Neither is wrong, but the most efficient studios balance both with strict limits to avoid bottlenecks. Pick your approach intentionally and communicate it upfront.
Perspective: Why strict boundaries make design workflows better, not colder
Many studio owners worry that tightening their revision policy or switching to digital approval forms will feel cold or transactional to clients. We’ve seen the opposite play out across busy studios time and again.
When your process is clear, clients actually feel more confident. They know what to expect, they know their artist has a plan, and they trust the studio’s professionalism. Vague, anything-goes policies create anxiety, not warmth. Clients fill the uncertainty with worst-case scenarios and excessive revision requests.
Automated workflows free your team to focus on what actually matters: the creative work and the genuine human connection with clients during consultations and appointments. When your front desk isn’t chasing consent forms or tracking down revision histories manually, they can put that energy into better client experiences.
The studios that hesitate to set limits often do so out of fear of losing clients. But the clients worth keeping are the ones who respect a professional process. Clear boundaries communicated warmly are not a barrier. They’re a sign of a studio that takes both its artists and its clients seriously.
Streamline your workflow with Ink Link
Ready to apply these workflow steps to your studio? Ink Link makes it easier to manage the full booking and approval cycle in one place.
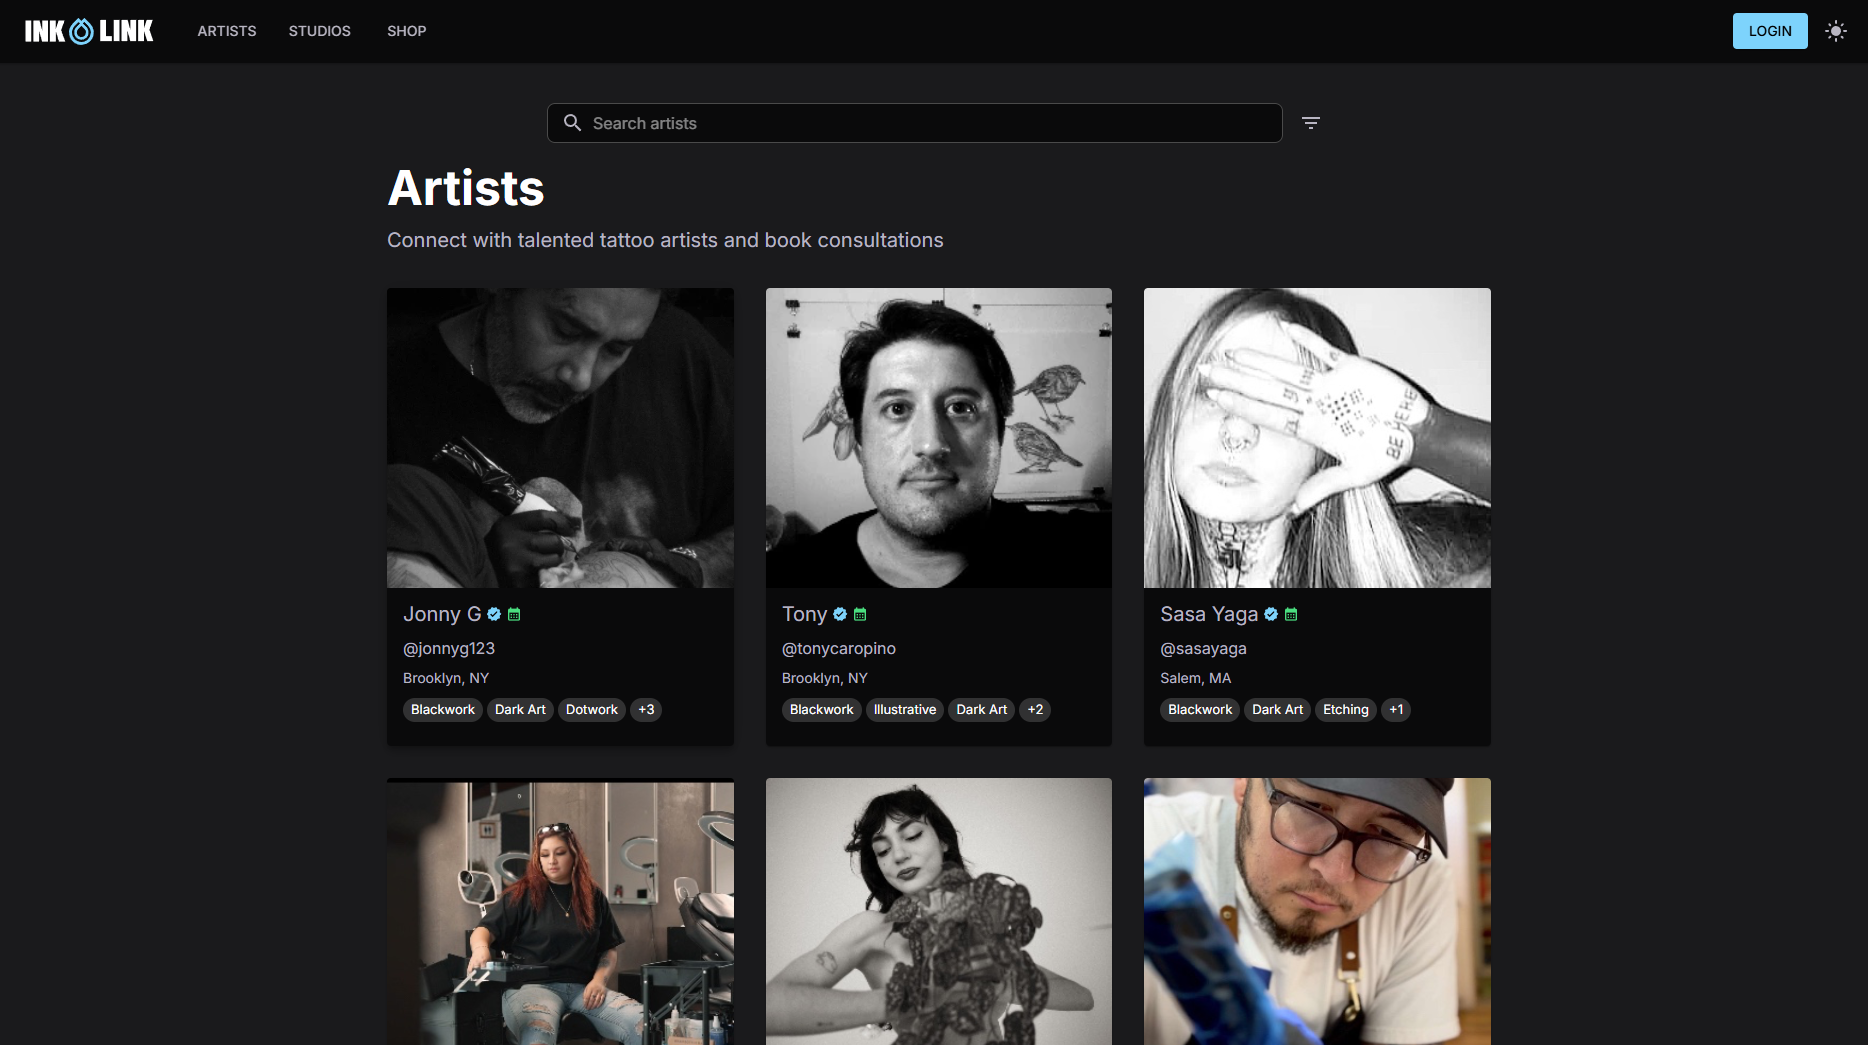
From intake to consent, Ink Link gives studios the tools to keep every appointment on track. Manage team bookings, client records, payments, and communication without switching between five different apps. You can find studios already using the platform to see how it fits into a real-world workflow. If you’re looking to build your roster, connect with artists who are ready to work within a streamlined, professional environment. Less admin. More art. That’s what we’re all here for.
Frequently asked questions
How many revisions are typically allowed in a tattoo design approval workflow?
Most studios allow 1 to 3 minor revisions for free. Major design changes like switching concepts or styles often require a new deposit or rescheduling.
Can clients ask to see the design before their appointment?
Studios vary, but many now limit pre-appointment digital shares to keep the workflow efficient and avoid revision requests that slow down artists.
What happens if a client no-shows or is late?
Most studios forfeit the deposit for no-shows and charge a fee of $50 or more for late arrivals to protect the artist’s time and the day’s schedule.
How do studios handle design approval for minors or VIP clients?
Extra approvals and guardian consent are standard for minors. VIP clients go through the same process as everyone else, with no steps skipped.