How to photograph tattoos: capture stunning ink photos

Getting a tattoo is a big deal. You spend hours in the chair, invest real money, and walk away with something you’ll carry for life. Then you try to photograph it and the colors look washed out, the lines blur, and the whole piece looks flat. That frustration is incredibly common. Tattoo skin is reflective, three-dimensional, and often freshly inked with ointment that creates glare. But with the right setup and a few targeted techniques, you can capture photos that actually do your ink justice, whether you’re building a personal portfolio or posting to social media.
Table of Contents
- What gear and setup do you need for tattoo photography?
- Camera settings and smartphone tips for sharp tattoo images
- Lighting and composition: Making tattoos pop
- Editing and common mistakes to avoid for portfolio-ready tattoo photos
- Our take: Authenticity over stylization for tattoo photography
- Ready to share your tattoo portfolio?
- Frequently asked questions
Key Takeaways
| Point Details | |
| Proper lighting setup | Soft, angled lighting prevents glare and makes tattoos look vibrant and detailed. |
| Optimal camera settings | RAW formats, low ISO, and wide apertures produce sharp, high-quality tattoo images. |
| Effective composition | Fill most of the frame with the tattoo and use body contours for context. |
| Gentle editing | Adjust colors and sharpness but avoid over-filtering for authentic, portfolio-ready photos. |
What gear and setup do you need for tattoo photography?
Now that you know what’s at stake, let’s get your gear and workspace ready. The good news is that you don’t need a professional studio to get great results. You do, however, need the right tools and a thoughtful environment.
Essential gear for tattoo photography:
- Camera: A DSLR or mirrorless camera gives you the most control, but a modern smartphone works well for social media shots.
- Lenses: Preferred lenses are 50mm f/1.8 for standard shots and 90-105mm macro for fine detail. Avoid wide-angle lenses, which distort body curves and stretch linework.
- Tripod: Eliminates camera shake, especially in lower light conditions.
- Lighting: Soft boxes or a large window with diffused natural light work best. Avoid bare flash.
- Reflectors: Bounce fill light onto shadowed areas without adding harsh highlights.
- CPL filter: A circular polarizing lens filter reduces shine on skin, especially useful for fresh tattoos.
| Gear category DSLR/Mirrorless Smartphone | ||
| Camera body | Full-frame or crop sensor | iPhone 14+ or Android flagship |
| Lens | 50mm or 90-105mm macro | Native camera app or Halide |
| Stabilization | Tripod or monopod | Tripod with phone mount |
| Lighting | Soft box, LED panel | Ring light or window light |
| Filter | CPL filter | CPL clip-on filter |
Skin and background prep matter just as much as gear. Wipe excess ointment off fresh tattoos to reduce shine, and choose neutral or matte backgrounds that don’t compete with the tattoo. Gray, white, or black fabric works well. Avoid busy patterns or overly bright colors behind the subject.
For room setup, position your main light source at roughly a 45-degree angle to the skin. This creates gentle shadows that reveal texture without creating harsh glare. If you’re near a window, that soft, indirect daylight is often ideal. Check out this tattoo photography guide for more on lighting environments, and browse our tattoo blog for additional creative inspiration.
Pro Tip: Keep your lens at a normal focal distance. Getting too close with a wide-angle lens warps the tattoo and makes it look nothing like the real piece.
Camera settings and smartphone tips for sharp tattoo images
With your gear in place, proper settings make the difference between blurry and striking ink captures. This is where many people give up too soon, assuming their camera just isn’t good enough. Usually, the settings are the problem, not the hardware.
DSLR and mirrorless settings:
Always shoot in RAW format with apertures between f/1.4 and f/2.8 for small tattoos, or f/5.6 to f/8 for larger pieces, and keep ISO between 100 and 400. RAW files preserve far more data than JPEGs, giving you flexibility in editing without losing quality. Set your white balance manually to match your light source. Tungsten, daylight, and fluorescent all render skin tones differently, and auto white balance often gets it wrong.
Smartphone settings:
Enable grid mode to help with framing and alignment. Use focus lock by tapping and holding on the tattoo in your camera app. Adjust exposure manually by sliding the sun icon up or down after locking focus. Avoid HDR mode for tattoo shots since it can blend fine details and soften linework. Check out these tattoo lighting setups to pair your phone settings with the right environment.
| Feature DSLR/Mirrorless Smartphone | ||
| File format | RAW | HEIF or JPEG (highest quality) |
| Aperture control | Full manual control | Limited (some pro apps) |
| ISO range | 100-400 recommended | Auto or manual via app |
| White balance | Manual preset | Tap to adjust or use app |
| Best for | Portfolios, print | Social media, quick sharing |
Quick setup checklist:
- Set file format to RAW (DSLR) or highest quality JPEG (smartphone).
- Choose aperture based on tattoo size: wider for small, narrower for large.
- Set ISO to 100 or 200 in good light.
- Lock white balance to match your light source.
- Use a tripod or brace your elbows to eliminate shake.
- Take a test shot and zoom in to check sharpness before continuing.
For more on manual exposure tips and building your workflow, we’ve got you covered.
Pro Tip: Always check sharpness at 100% zoom on your screen before finishing the shoot. What looks sharp at thumbnail size often reveals soft focus when enlarged.
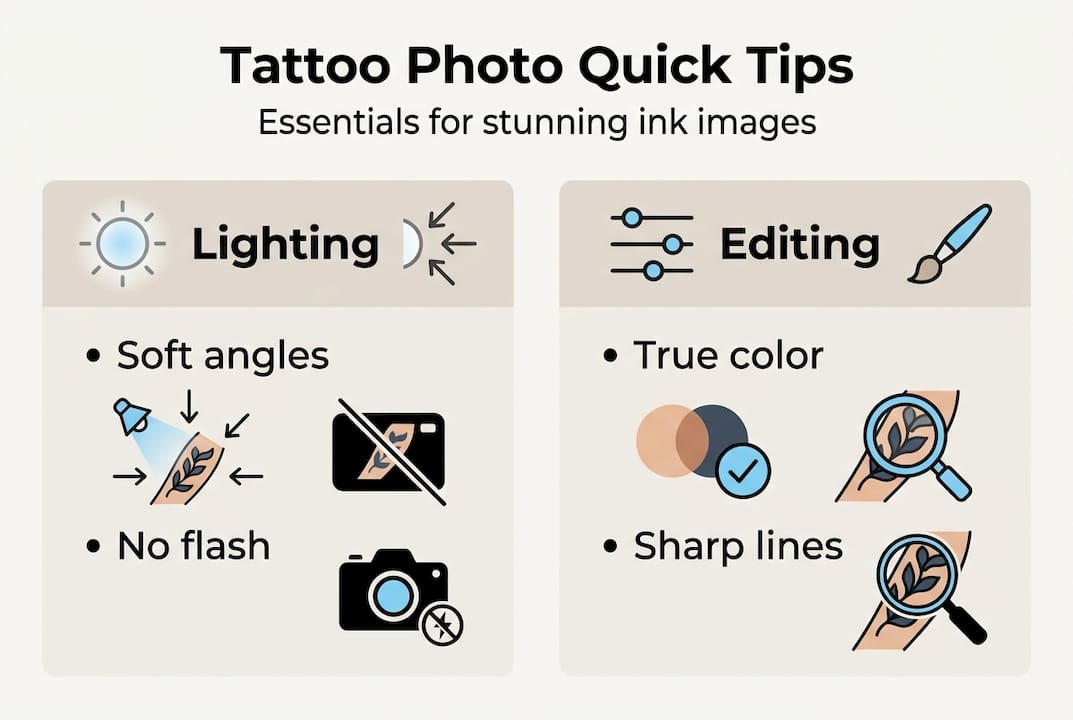
Lighting and composition: Making tattoos pop
Perfect settings aren’t enough if your lighting and framing fall short. Here’s how to make tattoos truly stand out in photos.
Key lighting principles:
- Place your main light at a 45-degree angle to highlight texture and avoid glare on skin.
- Use a reflector on the opposite side to fill in shadows without washing out the tattoo.
- Avoid direct flash at all costs. It flattens the image and creates a harsh, reflective shine.
- Diffuse any artificial light with a softbox, umbrella, or even a white sheet.
- For outdoor shots, shoot in open shade rather than direct sunlight to avoid uneven highlights.
When it comes to composition, aim to fill roughly 70% of the frame with the tattoo itself. This keeps the focus on the ink and eliminates distracting background elements. You can include a small amount of body context to show placement, but the tattoo should dominate the shot.
Fresh tattoos are especially tricky because the skin is raised and shiny from ointment. Angle your lights to the side rather than straight on, use a CPL filter to cut reflections, and wipe away any excess product before shooting. These three steps alone eliminate most of the glare issues people run into.
Shoot from multiple angles. A straight-on shot shows the full design clearly. A slightly angled shot can reveal depth in shading and texture. A wider shot showing body placement adds context and tells a story. For portfolio work, capture all three.
Remember: Accurate color representation is non-negotiable. Your photo should match the real tattoo as closely as possible. Viewers and potential clients rely on your images to judge the actual work, not an idealized version of it.
For more ideas on framing and soft, angled lighting techniques, that resource goes deep on professional setups. You can also find portfolio photography tips on our blog to help you build a consistent visual style.
Editing and common mistakes to avoid for portfolio-ready tattoo photos
Once you’ve captured well-lit, in-focus photos, the final polish comes with mindful editing and a few expert safeguards.
Basic editing workflow:
- Open your RAW file in Lightroom, Capture One, or a free alternative like RawTherapee.
- Adjust white balance first so skin tones look natural and ink colors are accurate.
- Increase clarity slightly to sharpen linework without adding noise.
- Crop to your intended composition, keeping the tattoo as the clear focal point.
- Export a high-resolution version for print portfolios and a compressed version for web or social.
- Save your original RAW file separately. Never overwrite it.
Common mistakes to avoid:
- Applying heavy Instagram-style filters that shift ink colors dramatically.
- Over-brightening shadows, which erases shading detail and flattens the design.
- Sharpening too aggressively, which creates a gritty, artificial look around fine lines.
- Cropping too tight and losing the edges of the tattoo.
- Ignoring glare spots, which draw the eye away from the design.
Post-process lightly by correcting color balance and sharpening linework, and resist the urge to apply heavy filters. The goal is to show the tattoo as it truly is. Clients and collectors want to see real work, not a heavily processed version of it.
Consistency matters too. If you’re building a portfolio, edit all your photos with the same general approach so the collection looks cohesive. Wildly different color grades across shots make a portfolio feel disjointed, even if each individual photo looks fine on its own. Check out these tattoo editing best practices for a deeper look at post-processing workflows.
Pro Tip: Save your original RAW files in a dedicated folder and only export edited copies for sharing. If you ever want to re-edit with better skills or different software, you’ll have the full-quality source file ready.
Our take: Authenticity over stylization for tattoo photography
Here’s something the photography tutorials often skip over: the most technically perfect tattoo photo can still fail if it misrepresents the work. We see this constantly in the tattoo community. Artists over-saturate colors to make a piece look more vibrant than it is, or clients apply trendy filters that shift the whole color palette. The photo gets likes, but it doesn’t reflect reality.
Authenticity builds trust. When someone books a tattoo based on portfolio photos, they expect the real result to match what they saw. If your photos are heavily stylized, you’re setting up a gap between expectation and reality that erodes confidence.
The best photographers and artists we’ve seen on platforms like Ink Link keep their edits clean and consistent. They let the actual skill in the work speak for itself. Subtle adjustments for color accuracy and sharpness? Absolutely. Dramatic filters or heavy-handed retouching? That’s where you lose credibility.
There’s room for creative variation in personal projects or artistic shoots. But for portfolio documentation, accuracy is always the priority.
Ready to share your tattoo portfolio?
You’ve now got the skills to photograph your ink with confidence. The next step is connecting with a community that appreciates the craft.
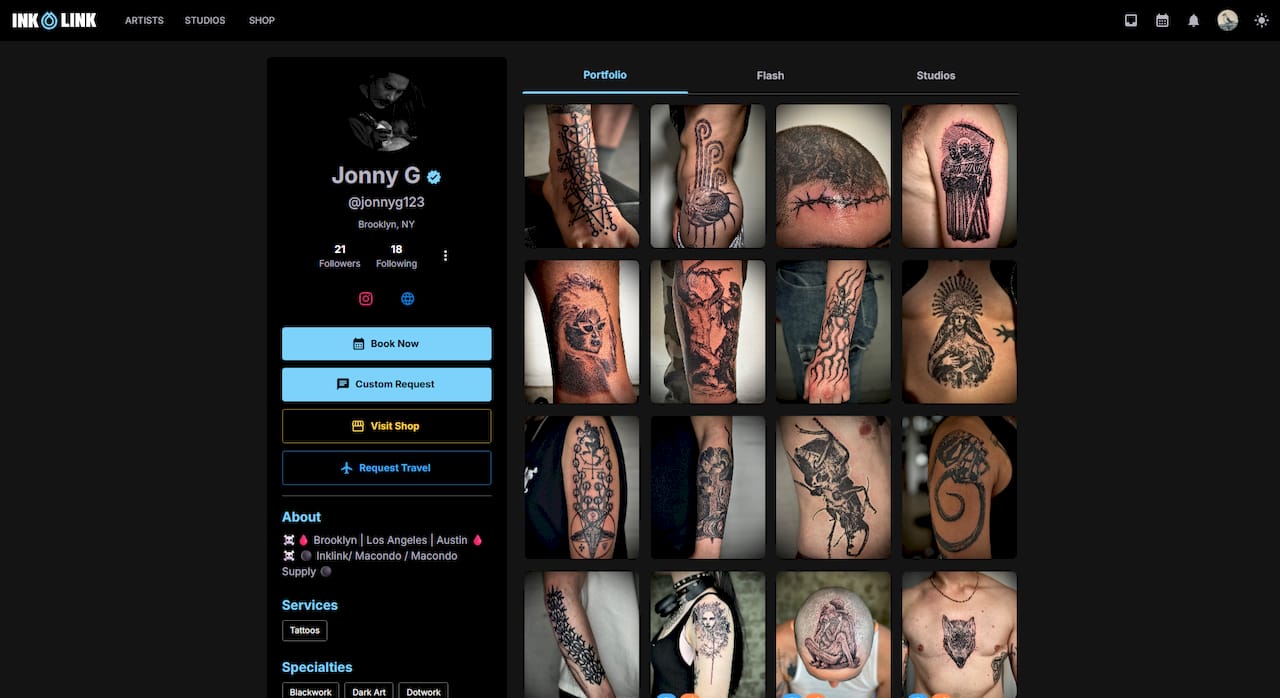
On Ink Link, you can browse work from featured tattoo artists across a range of styles, discover studios like Old Traditions Tattoo Parlor, and book appointments directly through the Ink Link platform. Whether you’re a client looking for your next piece or an artist ready to showcase your portfolio, Ink Link makes it easy to connect, share, and grow within the tattoo community. Your best photos deserve to be seen by the right audience.
Frequently asked questions
What lighting is best for tattoo photography?
Soft, diffused lighting at 45-degree angles highlights texture and reduces glare on skin. Avoid direct flash, which flattens the image and creates unwanted shine.
How should I edit tattoo photos for accuracy?
Edit lightly by correcting color balance and sharpening linework, and skip heavy filters that alter the true colors and lines of the tattoo.
Can I use a smartphone for tattoo photography?
Yes. Smartphones work well for social media when you enable grid mode, lock focus on the tattoo, and adjust exposure manually for accurate results.
How do I avoid glare on fresh tattoos in photos?
Wipe off excess ointment, angle your lights to the side, and use a CPL filter. Fresh tattoos are prone to glare from ointment and shine, so diffusers and off-axis lighting make a big difference.
Recommended
- How to Handle Booking Requests and Deposits | Artist Guide | Ink Link Blog
- Ink Link - Tattoo Booking Platform | Blogs
- Ink Link - Tattoo Booking Platform | TGR
- Ink Link - Tattoo Booking Platform | Mila